
TL;DR:
- A pour over coffee workflow is a manual brewing process that emphasizes control of variables to produce a cleaner, more flavorful cup than automatic methods. Mastery requires essential tools like a burr grinder, a gooseneck kettle, and a digital scale, along with precise execution of timing, pour pattern, and grind size adjustments. Consistent practice and patience turn this ritual into a meditative routine that improves flavor and enhances appreciation for the craft.
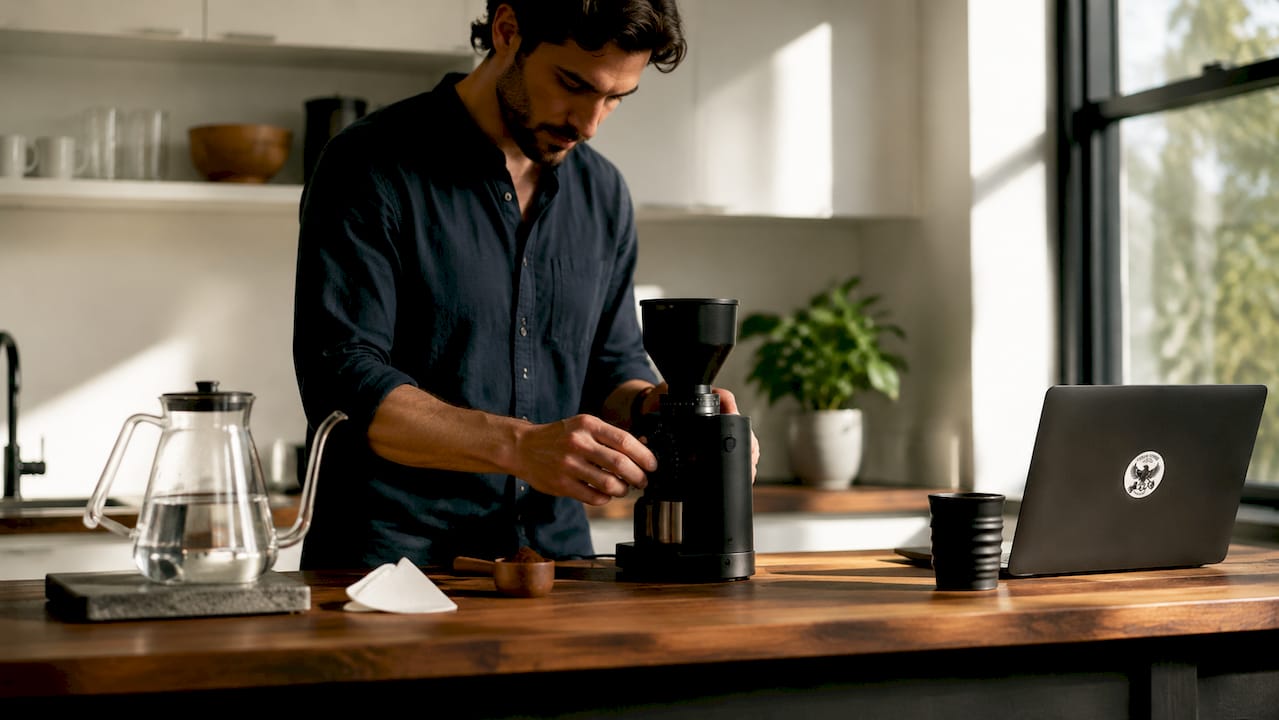
A pour over coffee workflow is a stepwise manual brewing process that controls grind size, water ratio, temperature, bloom, and pour timing to produce a cleaner, more flavorful cup than most automatic methods deliver. The process goes by several names in specialty coffee circles, including “manual filter brewing” or simply “filter coffee,” but the workflow principles stay the same regardless of what you call it. Master this process and you get two things: a noticeably better cup and a morning ritual worth protecting. The key tools are a burr grinder, a gooseneck kettle, and a digital scale. Get those three right, and everything else becomes refinement.
What does a pour over coffee workflow actually require?
The foundation of any consistent brew is the right equipment, set up in the right order. Skipping or substituting gear here is the single most common reason home brewers plateau at “pretty good” instead of reaching genuinely great.
The four non-negotiable tools
- Burr grinder: A burr grinder produces uniform particle sizes, which is the single biggest factor in even extraction and sweetness in the cup. Blade grinders create inconsistent fragments that extract at different rates, producing a muddy, uneven flavor.
- Gooseneck kettle: The narrow spout gives you precise control over pour speed and direction. A standard kettle pours too fast and too wide, making it nearly impossible to saturate grounds evenly.
- Digital scale with timer: Eyeballing coffee and water produces different results every single day. A scale removes that variable entirely and lets you track what actually changed between brews.
- Dripper and filters: The Hario V60 and Kalita Wave are the two most widely used cone drippers among home brewers and specialty cafes. The V60 rewards technique with clarity and brightness. The Kalita Wave is more forgiving and produces a slightly fuller body.
Pro Tip: Rinse your filter with hot water before adding coffee. This removes the papery taste from the filter and preheats your dripper and server, which keeps brew temperature stable from the first drop.
Equipment setup reference
| Tool | Recommended Spec | Why It Matters |
|---|---|---|
| Burr grinder | Conical or flat burr | Uniform grind for even extraction |
| Gooseneck kettle | Variable temp preferred | Precise pour and temperature control |
| Digital scale | 0.1g resolution with timer | Repeatability across every brew |
| Dripper | V60 or Kalita Wave | Proven cone geometry for filter coffee |
| Water | Filtered, not distilled | Filtered water protects flavor ceiling |
Water quality deserves more attention than most guides give it. Coffee is more than 98% water, so impurities in tap water directly cap how good your cup can taste. Use filtered water from a pitcher like a Brita or a dedicated water filter, not distilled water, which strips the minerals that help extraction.
How do you execute the pour over coffee steps?
The standard baseline recipe uses 20g of coffee to 320g of water at a 1:16 ratio, with water temperature at 200°F (93°C) and a medium-fine grind. That ratio is your starting point, not a permanent rule. Here is the full sequence.
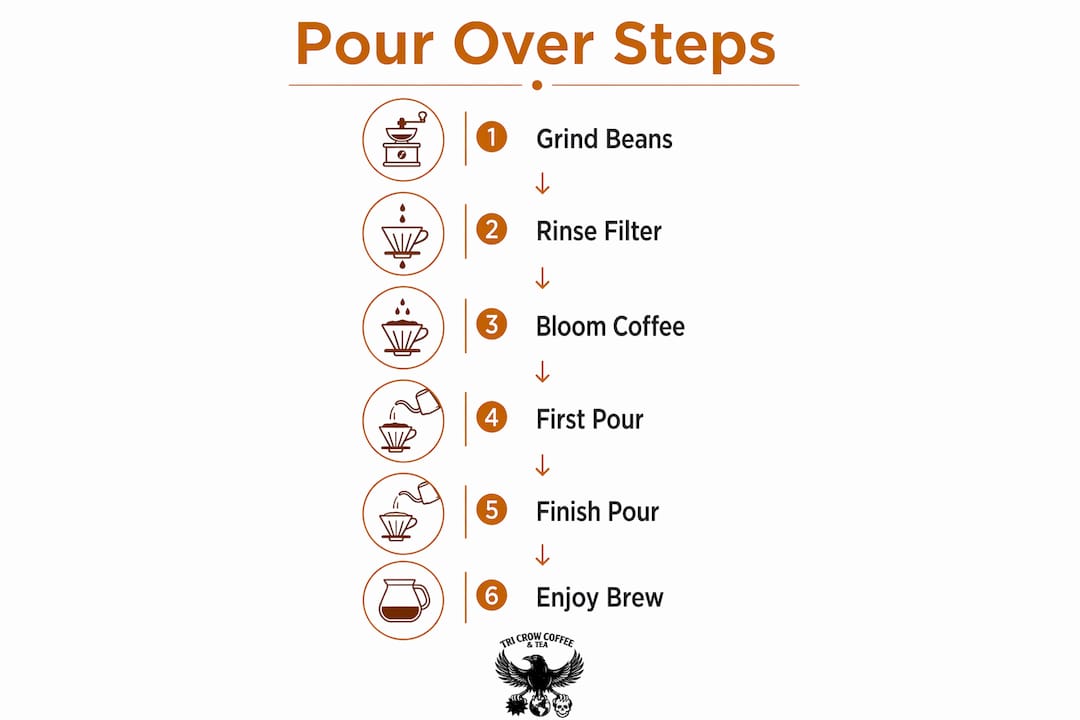
The step-by-step brewing sequence
- Grind your coffee. Set your burr grinder to medium-fine. Grind 20g of fresh beans immediately before brewing. Freshness matters more than most people realize.
- Rinse the filter. Place your filter in the dripper, set it on your server, and pour hot water through it. Discard that water.
- Add coffee and tare the scale. Pour your ground coffee into the rinsed filter, shake gently to level the bed, and set your scale to zero.
- Start the bloom. Pour 40–60g of water (2–3 times the coffee weight) evenly over the grounds. This is the bloom phase. Wait 30–45 seconds for CO2 to release from the grounds. Fresh coffee blooms visibly, bubbling and rising. Older coffee barely moves.
- First main pour. Begin a slow spiral pour from center outward, working toward the edges without hitting the filter walls. Pour until you reach roughly 150g total.
- Subsequent pours. Continue in steady intervals, adding water in 50–70g increments. Keep the water level consistent without letting the bed go completely dry between pours.
- Finish and drawdown. Stop pouring at 320g total. Let the remaining water draw down through the grounds completely.
Timing targets by phase
| Phase | Target Time | Notes |
|---|---|---|
| Bloom | 0:00–0:45 | Wait for visible CO2 release |
| First pour | 0:45–1:15 | Slow spiral, center outward |
| Middle pours | 1:15–2:30 | Steady intervals, 50–70g each |
| Final drawdown | 2:30–3:30 | Total brew time target for V60/Kalita |
Pro Tip: Do not adjust your pouring speed to hit a time target. Time is a diagnostic tool, not an input. If your brew finishes in under 2:30, adjust your grind finer. If it runs past 3:30, go coarser.
How do you troubleshoot and refine pour over flavor?
Pour over brewing is iterative, requiring adjustments across four variables: grind size, ratio, total brew time, and pour pattern. The key is changing only one variable at a time so you know exactly what caused the shift in flavor.
Reading your cup for clues
- Sour or underdeveloped taste: Your extraction is too low. Grind finer to slow the water down and increase contact time. Grind size is the first adjustment to make before touching anything else.
- Bitter or harsh taste: Your extraction is too high. Grind coarser to speed up flow and reduce over-extraction.
- Weak or thin body: Your ratio is off. Try 18g of coffee to 300g of water (closer to 1:17) for a lighter cup, or move to 1:15 for more body and strength.
- Uneven or channeling taste: Your pour pattern may be creating dry spots in the coffee bed. Slow down and focus on even saturation from center outward.
Pro Tip: Pour pattern affects saturation and channeling, but only refine it after your grind size is dialed in. Fixing a pour pattern problem on top of a grind problem produces confusing results.
The most common mistake is treating brew time as something you control through pouring speed. Brew time is an outcome of grind size, water flow, and coffee bed depth. Pouring faster or slower to hit a time target undermines consistency and masks the real issue. Fix the grind first, then evaluate everything else.
You can also explore how bean origin and roast level affect which adjustments make the most sense for your cup. A light Ethiopian roast and a dark Italian roast behave very differently at the same grind setting.
How do you build consistency in your brewing routine?
Repeatability in the first 30 days of learning pour over matters more than experimenting with different coffees or ratios. You cannot identify what to improve if every brew starts from a different baseline.
Building a repeatable practice
- Stick to one dripper. Choose either the V60 or the Kalita Wave and use it exclusively for at least a month. Each dripper has its own flow characteristics, and switching between them resets your learning curve.
- Use the same coffee. Pick one single-origin or blend and brew it repeatedly. This isolates your technique as the variable, not the bean.
- Log your brews. Write down grind setting, dose, water weight, water temperature, and total time after every session. A simple notebook works. The goal is to spot patterns across multiple brews.
- Evaluate with your senses. After each brew, note the flavor: is it bright or flat, sweet or harsh, thin or full? Connect those sensory notes to the numbers you logged.
- Make one change per session. Once you have a consistent baseline, adjust a single variable and brew again. Compare the result directly to your previous notes.
This approach mirrors how building a home coffee workflow works in professional settings. Specialty cafes do not change multiple variables at once. They dial in one parameter, confirm the result, and move forward. You can apply the same discipline at home with nothing more than a notebook and a scale.
Understanding coffee extraction principles also accelerates your progress. When you know why extraction happens the way it does, adjustments stop feeling like guesswork and start feeling like informed decisions.
Key takeaways
A consistent pour over coffee workflow depends on controlling grind size, ratio, bloom, and timing as separate, measurable variables rather than adjusting them all at once.
| Point | Details |
|---|---|
| Start with the right tools | A burr grinder, gooseneck kettle, and digital scale are non-negotiable for repeatable results. |
| Nail the bloom phase | Pour 2–3 times the coffee weight in water and wait 30–45 seconds to release CO2 before main pours. |
| Use time as a diagnostic | Target 2:30–3:30 minutes total; adjust grind size if you fall outside that range, not pouring speed. |
| Fix grind before pour pattern | Sourness or bitterness points to grind size first; refine pour pattern only after grind is set. |
| Prioritize consistency early | Brew the same coffee on the same dripper daily for at least 30 days before experimenting with variables. |
The ritual is the point
I have brewed pour over coffee for years, and the thing most guides miss is this: the workflow is not just a means to an end. Seasoned baristas consistently describe pour over as meditative, and I think that framing is exactly right. The act of weighing, blooming, and pouring slowly forces you to be present in a way that pressing a button on a machine simply does not.
What I have found in practice is that the days I rush the process are the days the cup disappoints me. Not because I made a technical error, but because I skipped the attention that makes the technique work. The bloom is not just a CO2 release step. It is the moment you check in with your coffee and notice whether it is fresh, how it smells, how it behaves. That information shapes every pour that follows.
My honest advice: resist the urge to buy more equipment before you master what you have. A V60 and a decent burr grinder will take you further than a $400 kettle paired with sloppy technique. Patience with the process is the variable most people underestimate, and it costs nothing.
— David
Elevate your brew with tri crow coffee
The right workflow deserves the right coffee to work with. Tri Crow Coffee roasts in small batches specifically to give home brewers the freshness and consistency that pour over demands. Fresh beans bloom visibly, extract cleanly, and reward the attention you put into your technique.
If you are ready to put your workflow to the test, the Italian Roast from Tri Crow Coffee is a strong starting point. Its depth and body hold up beautifully through a careful pour over process. For something to complement your morning brew ritual, the English Breakfast Tea offers a smooth, grounding counterpart to your coffee practice. Both are crafted with the same intentional approach that makes the difference in the cup.
FAQ
What is the best coffee-to-water ratio for pour over?
The standard starting ratio is 1:16, using 20g of coffee to 320g of water. Adjust toward 1:15 for a stronger cup or 1:17 for a lighter one based on your taste preference.
How long should a pour over take from start to finish?
Total drawdown time for cone drippers like the V60 and Kalita Wave should fall between 2:30 and 3:30 minutes. A faster finish means your grind is too coarse; a slower finish means it is too fine.
Why does the bloom phase matter?
The bloom releases CO2 trapped in fresh coffee grounds. Skipping it causes uneven extraction because gas bubbles block water from contacting the coffee evenly during the main pours.
Should i adjust my pouring speed to control brew time?
No. Brew time is a result of grind size, not pouring speed. Use your total time as a signal to adjust your grinder, not as a cue to pour faster or slower.
What dripper is best for beginners learning pour over?
The Kalita Wave is more forgiving than the V60 because its flat bed and three small holes slow the drawdown slightly, giving you more margin for technique errors while you build consistency.